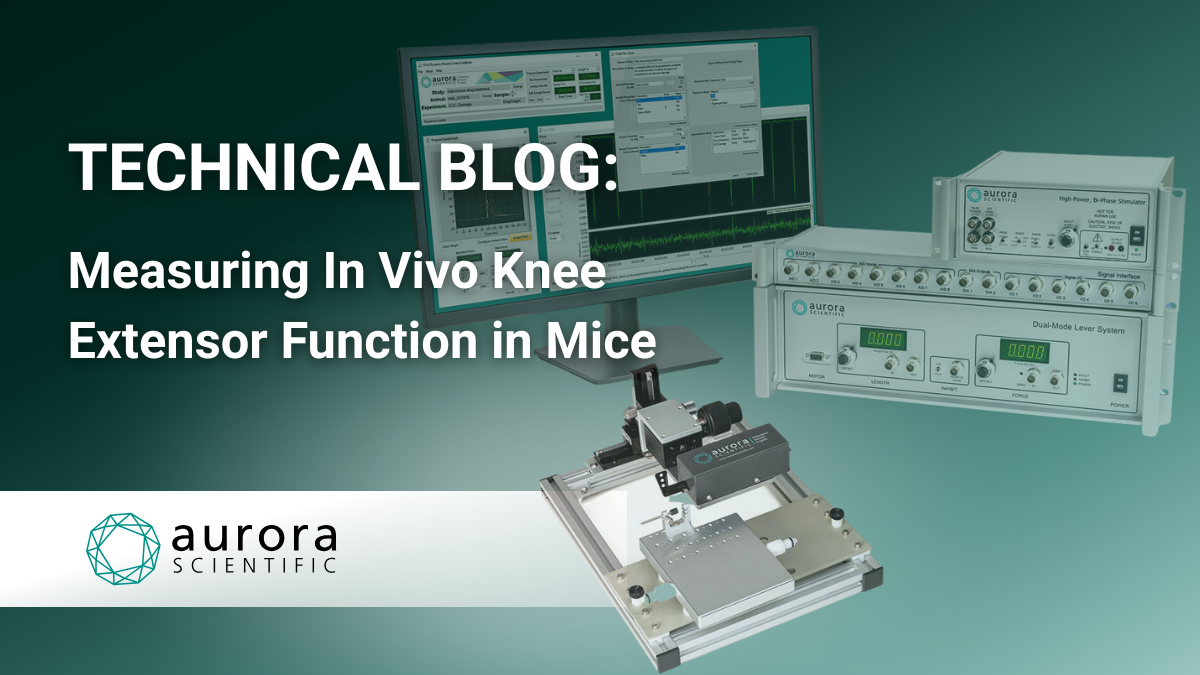
The study of in-vivo muscle function with our Dual-Mode lever systems has traditionally focused on plantarflexor and dorsiflexor muscle groups. However, we also wanted to highlight the ability to measure from the knee extensors, particularly the quadriceps. We have found that researchers have turned to measuring muscle contractility from this group too, to understand muscle physiology, orthopaedic injuries, aging, disease progression, and therapeutic interventions.
Comprised of the rectus femoris, vastus lateralis, and vastus medialis, the quadriceps contain a well-balanced distribution of muscle fiber types, making them an excellent model for studying muscle adaptation and contractile function.
To support researchers adopting this technique, Aurora Scientific collaborated with Dr. Christopher Fry’s Lab at the University of Kentucky to develop a JoVE video. With this resource, researchers are provided with a protocol demonstrating the in-vivo measurement of mouse knee extensor function.
Why Measure Knee Extensor Function?
The quadriceps play a critical role in our day-to-day lives, supporting locomotion, balance, and functional mobility. Measuring their contractile performance provides valuable insight into:
- Skeletal Muscle Adaptation
- Orthopaedic Injury and Recovery
- Neuromuscular Disease
- Sarcopenia and Aging
- Muscle Injury (VML) and Regeneration
- Drug Therapies and Efficacy
Mimicking Human Knee Extension
Another advantage of this preparation is its intuitive positioning.
When secured in the apparatus, the mouse’s hindlimb closely resembles the position your own leg would assume while performing a leg extension exercise at the gym. This positioning allows controlled repeatable measurements while isolating the quadriceps.
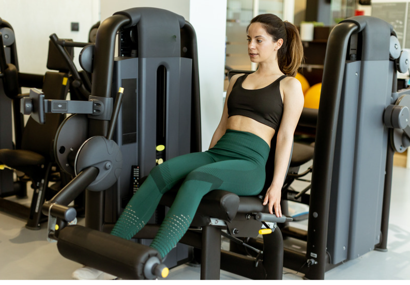
Figure 1: Leg extension machine found in most gyms, has many similarities to this knee extension technique with animals, seen in Figure 3. (Canva image)
Preparing the Animal for the Knee Extensor Technique
Proper animal preparation is essential for obtaining reliable, repeatable measurements.
General preparation can include the following steps:
- Induce the animal under anaesthesia, which can be done using isoflurane or an injectable.
- Remove or trim hair from the mice’s hindlimb, from the animal’s ankle up to their hip (NOTE: using hair trimmer or Nair can be useful. If using Nair, be careful not to leave it on for too long, and wash the skin immediately after use, as their skin is quite sensitive).
- Transfer the mouse to a heated platform (37˚C) with the nose cone, to keep the animal under anaesthesia.
- Apply veterinary eye lubricant (highly recommended).
- Rotate the animal into the supine position and tape down the nose cone in the desired position.
- Confirm that the animal is under an appropriate depth of anaesthesia using the toe pinch reflex.
Positioning the Hindlimb
Correct positioning is one of the most important steps in obtaining reproducible torque measurements.
The procedure is as follows:
- Install the knee extension lever arm onto the motor shaft (refer to Figure 2 for an image of this knee extension lever arm).
- Clamp the upper hindlimb posterior to the knee, ensuring that the range of motion remains unrestricted.
- Position the lower hindlimb into the adjustable knee extension cradle with the anterior tibia lightly contacting the plastic U-shaped support.
- Secure the leg using surgical tape wrapped around the adjustable support. You can tape over the U-shaped support once the animals leg is in it to ensure it does not come out.
- Adjust the platform so the knee is flexed to approximately 60°.
We generally recommend positioning the lever arm 20–30° from vertical (90°) while adjusting the U-shaped support to comfortably maintain the desired joint angle.
To minimize unwanted body movement during maximal contractions, secure the torso using a strip of tape (3M Transpore™ tape works quite well) placed across the body like a seatbelt. This tape provides secure restraint while minimizing skin irritation and hair removal.
Figure 2: Shape and dimensions of the knee extension U-shaped holder on the lever arm that is attached to the motor shaft for the rodents leg.
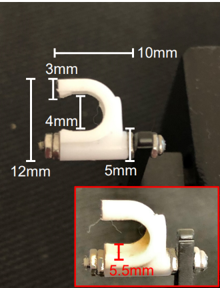
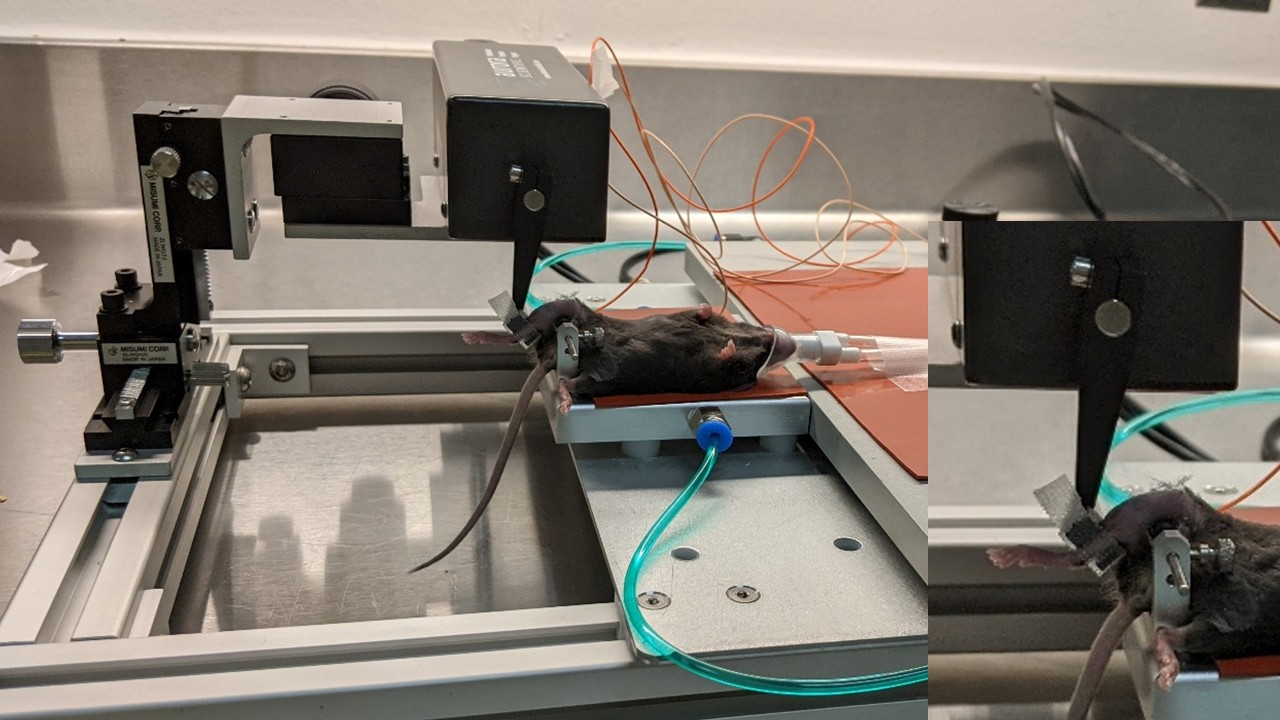
Figure 3: Knee extension set up of a mouse. The close up on the right shows a zoomed-in image of the offset of the lever arm and the animals leg clamped.
Electrode Placement
Correct electrode placement is essential for selective activation of the quadriceps while minimizing recruitment of antagonist muscles.
Place the stimulating needle electrodes subcutaneously:
- 2–4 mm proximal to the knee
- Directly above the quadriceps
- Approximately 1–2 mm apart
Refer to Figure 3 and 4 for the electrode placement location.
Researchers familiar with Aurora Scientific’s dorsiflexion protocol will notice that the electrode spacing is very similar.
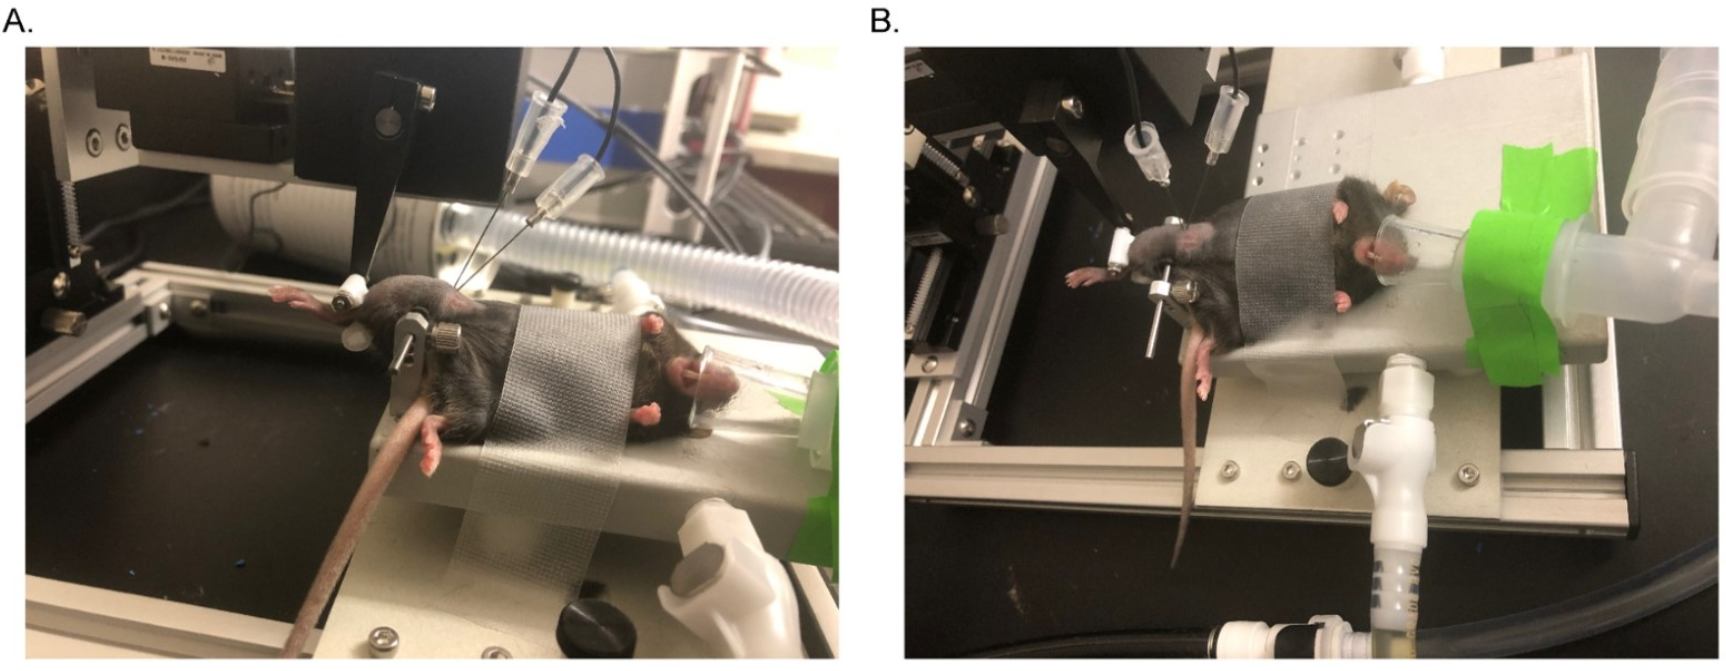
Figure 4: Electrode placement of a mouse for the knee extension technique. (image from the JoVE)
Optimizing Stimulation
Before collecting experimental data, determine the optimal stimulation current.
Using Instant Stimulation and the Live Data Monitor in DMC LabBook:
- Begin with approximately 50 mA of current being delivered to the animal using the stimulator. To do this, the range will be set at 100mA, and the Adjust knob at 5.
- Deliver repeated twitches via the InstantStim window.
- Using the Live Data Monitor, observe the twitch response. You should see that the twitches will increase as you increase the current delivered to the animal. This twitch force will eventually plateau, creating a bell curve shape.
- If you notice the force drops or there is an issue with the twitch shape, there could be co-contraction or incorrect electrode placement present. Adjust electrode position until maximal knee extension torque is obtained.
- Confirm that antagonist muscles are not contracting by gently palpating the knee flexors during stimulation.
If antagonist activation occurs, consider:
- Reducing stimulation current
- Repositioning electrodes
- Ensuring electrodes are not inserted too deeply
The lowest current producing maximal twitch torque should be used for subsequent experiments.
At this point your animal is setup well, and you are able to start your experiments!
Learn More
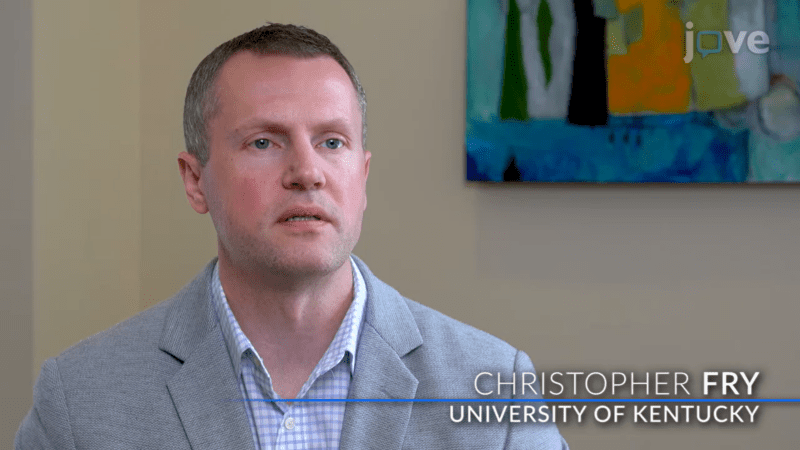
The complete protocol—including equipment setup, positioning, stimulation parameters, and representative results—is demonstrated in our JoVE publication developed in collaboration with Dr. Christopher Fry’s laboratory at the University of Kentucky.
Whether you’re studying muscle aging, neuromuscular disease, orthopaedic injury, or therapeutic interventions, the knee extension technique offers a robust and highly reproducible method for evaluating quadriceps function in vivo.
If you have an questions about the new features, please contact Aurora Scientific at +1-905-727-5161 or info@AuroraScientific.com